Image guide

How to Add Text to an Image: 5 Practical Methods

If you need a caption, price, date, label, or short announcement on a finished picture, you can add it without rebuilding the whole design. The fastest workflow is to upload the image, place a new text layer, adjust contrast and spacing, then export a copy for sharing. This guide explains how to add text to an image online, on a phone, and in common design tools, while also showing what to do when the old words are already baked into the image.

Quick answer

To add new text, open an image editor, upload the picture, choose a text tool, type your message, and position the text in a quiet area with enough contrast. Keep a safe margin around the letters, check the image at normal viewing size, and export a copy in the format your destination needs. A new text layer is different from replacing text that is already part of the original pixels; use a text-replacement workflow for that job.

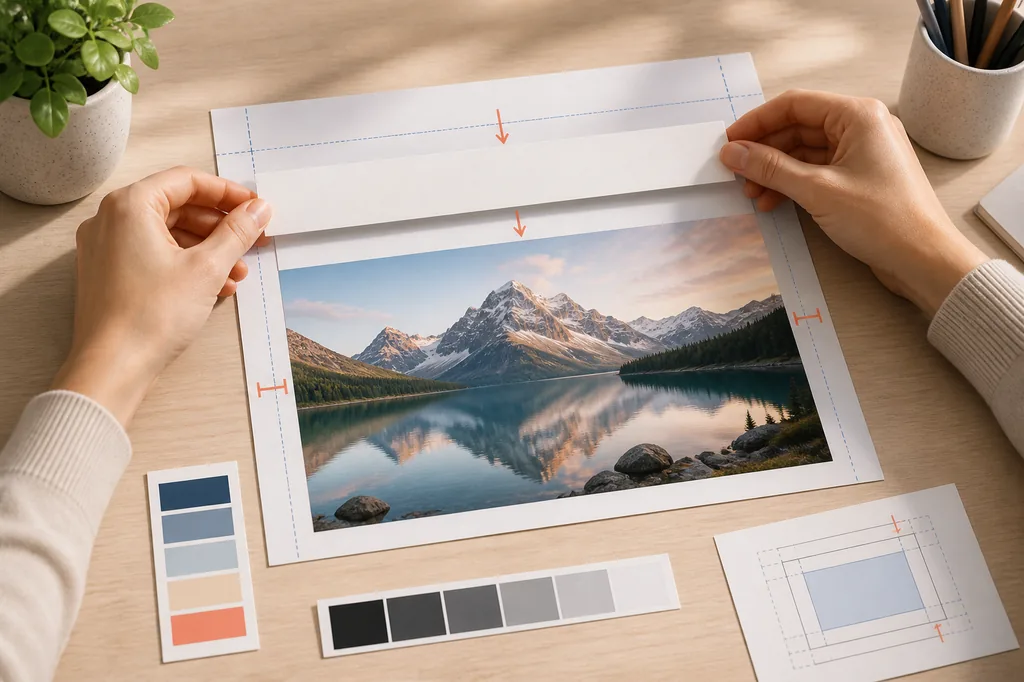
Editorial illustration showing a new text layer being aligned above a landscape photo
A simple overlay workflow is best for captions, prices, dates, labels, and short announcements that do not require removing existing lettering.

How to add text to an image online in four steps

Step 1

Choose the image and the final use

Start with the highest-resolution copy you have and decide where the finished file will be used. A social post, product listing, presentation, or printed flyer may need a different crop and export size. If you might need another version later, keep the untouched original before adding the first caption.

Step 2

Upload the file and open the text tool

Use an editor that accepts the format you already have, such as JPG, PNG, or WebP. Upload the picture, choose Add Text, and create a short text box. New text should be added as its own layer or editable object whenever possible, because that makes it easier to move, resize, and correct before export.

Step 3

Write the message and position it safely

Type the caption, price, date, or label, then move it away from faces, products, important details, and crop edges. Keep the message close to the original visual purpose of the image. A short line or two usually looks more intentional than a paragraph placed over a busy background.

Step 4

Check readability and export a copy

Review the text at normal viewing size, not only while zoomed in. Look for low contrast, uneven spacing, clipped letters, and a text box that will disappear after cropping. Export a new copy in the required format and keep the editable version if the tool supports one.

Choose the best way to add text to a picture

The right method depends on whether you are placing new words or changing lettering that already exists in the image. A focused browser tool is usually enough for a one-line overlay. A phone editor is convenient for a quick caption, while Canva, Word, or a full design application is more useful when you need a reusable layout or several editable layers.

Editorial illustration comparing a phone and laptop workflow for adding text to an image
A phone is convenient for a quick caption, while an online editor gives you more deliberate positioning and a predictable export for JPG, PNG, or WebP files.
Method Best for Main limits
Online add-text tool Captions, labels, prices, dates, and short announcements on JPG, PNG, or WebP images. It is designed for a focused overlay, not a full multi-page design system.
AI image text editor Replacing or changing words that are already printed inside a flattened photo, screenshot, or product graphic. Short, readable replacements usually produce more natural results than long paragraphs over complex textures.
Phone photo markup A quick note, pointer, date, or caption on a photo or screenshot already stored on a phone. Basic controls and a small screen can make precise spacing or repeated layouts harder.
Canva, Word, or a design app Templates, several text layers, brand layouts, presentations, and graphics that need future editing. More setup and controls than necessary for a simple one-line addition.

How to make text readable on an image

Adding text is easy; making it look intentional takes a few extra checks. These choices help the words stay legible on phones, social feeds, product pages, and presentations.

  • Use a short message. A name, price, date, or two-line caption is easier to place than a paragraph.
  • Choose contrast before decoration. Dark text needs a light or quiet area, while light text often needs a darker background or a subtle outline.
  • Leave a safe margin around the text. Social platforms and marketplaces may crop the image differently from the editor preview.
  • Match the tone of the picture. A neutral sans-serif is easy to read on a screenshot, while a display style may suit a poster or invitation.
  • Keep the text size large enough for the final use. If it is only readable when zoomed in, it is probably too small for the audience.
  • Save a new export instead of overwriting the only original. A flattened image is convenient for sharing, but it is not an editable text layer.

Pick the right image text workflow

Add a new caption

Use the focused browser tool when you want to place new text on a JPG, PNG, or WebP and download a finished image.

Open Add Text

Replace words already in the image

Use a replacement workflow when the old letters are part of the photo and the background must be repaired before the new words are blended in.

Replace Image Text

Add text on an iPhone

Follow the phone-specific guide for Markup, mobile positioning, crop safety, and captions added directly from Photos.

Read the iPhone Guide

Work with a transparent PNG

Choose the PNG workflow when transparency, labels, screenshots, or exported graphics affect how the new text should be placed.

Edit PNG Text

Use Canva for a reusable layout

Read the Canva guide when the image belongs to a template or needs multiple editable text objects instead of one quick caption.

Read the Canva Guide

Add text in Microsoft Word

Use the Word guide when the picture is part of a document and you need to compare a text box with editing the image itself.

Read the Word Guide

Common mistakes to avoid

Confusing a new overlay with a replacement

Adding a text box does not erase the old lettering underneath it. If a price, name, or sentence is already baked into the image, use a replacement or removal workflow instead of covering it with a matching-colored box.

Putting text on a crop edge

A caption close to the top, bottom, or side can disappear when the image is resized for a different platform. Leave a safe margin and preview the crop used by the destination.

Using low contrast or too many words

Thin lettering over a detailed photo becomes hard to read on a small screen. Shorten the message, move it to a calmer area, or choose a stronger color and outline.

Saving over the only original

Keep an untouched copy when the image may need another caption later. A flattened export is convenient for sharing, but it cannot be edited like a source file with a live text layer.

How to add text to an image FAQ

Yes. An online add-text tool, a phone markup editor, Canva, or Word can place a new text layer without Photoshop. Choose the simplest option that gives you the positioning and export controls you need.

Adding text creates new words on top of the image. Editing or replacing text means changing words that are already part of the original pixels, so the old letters and the background behind them must be repaired first.

Yes. JPG and PNG are common choices for adding captions, labels, and prices. PNG is useful when transparency matters, while JPG is common for photos. Choose the export format based on how the finished image will be used.

Open the photo in the phone's built-in markup or annotation tools, choose a text option, type the caption, move it into a clear area, and save a copy. Use a browser editor when you need more deliberate placement or a repeatable export workflow.

Move the text to a quieter part of the image, increase contrast, use a simple font, add a restrained outline or background shape, and check the result at normal viewing size. A shorter message is usually easier to read than a smaller paragraph.

Do not place a new text box directly over the old words. Use a text-replacement or removal workflow that can repair the background first, then blend the new price or name into the image.

Ready to add text to an image?

Open the focused tool for a new caption, or use the replacement guide when the old words are already part of the picture. Keep the original file and review the export before sharing.