iPhone guide

How to Add Text to an Image on iPhone: 3 Easy Ways

If you need a caption, date, label, or short announcement on a photo, you can do it directly on an iPhone without opening a desktop design program. The fastest built-in option is Markup in Photos, while an online editor is useful when you want easier positioning, common image formats, or a clean PNG export. This guide compares three practical methods and explains what to do when the words are already baked into the picture.

Quick answer

Open the photo in Photos, tap Edit, choose Markup, tap the plus button, and select Add Text. Type your caption, adjust its style and position, then tap Done. This adds a new text box. It does not erase or rewrite words that are already part of the original pixels; for that job, use a text-replacement workflow instead.

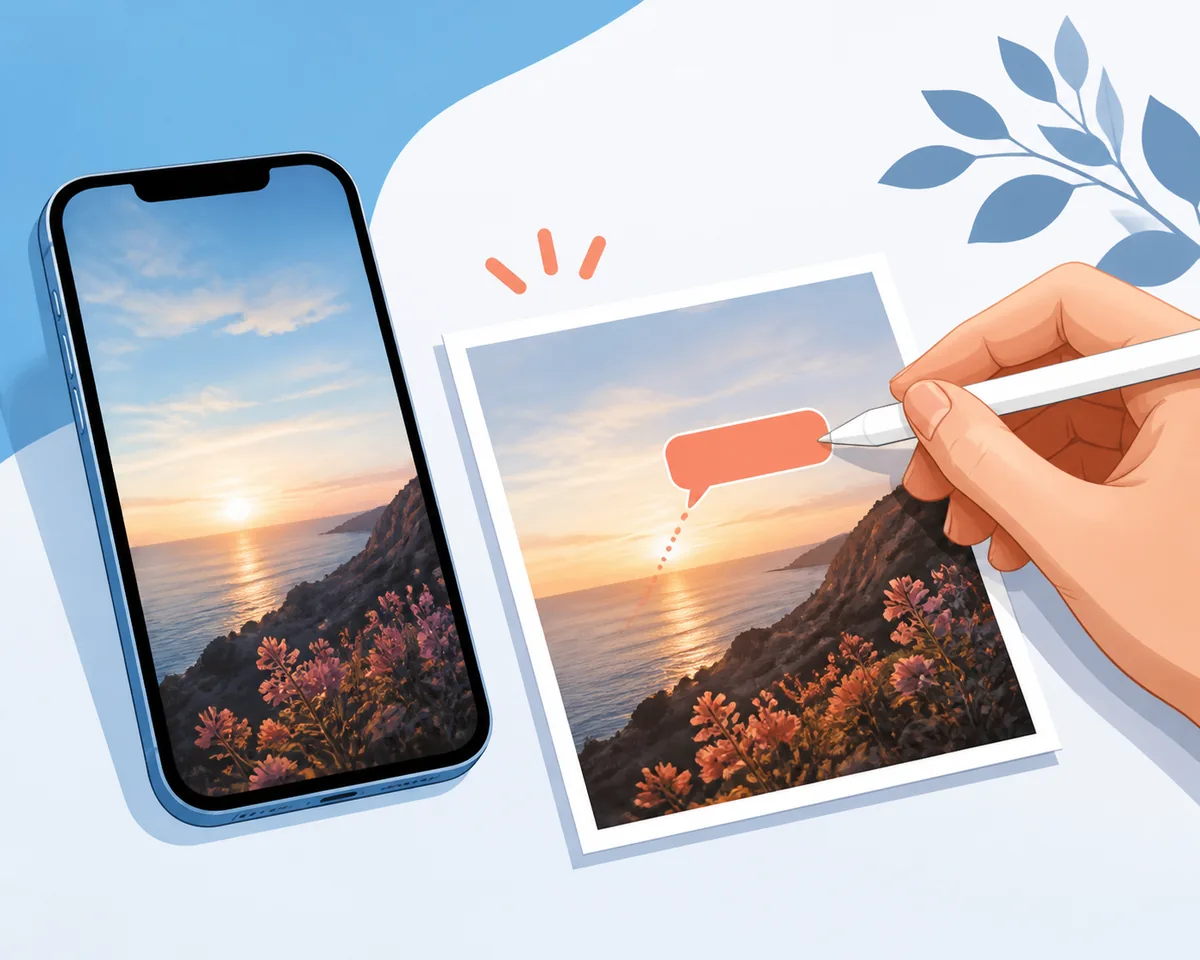
Illustration of an iPhone photo receiving a new text layer with a stylus
Markup is ideal for a short label, date, reminder, or caption that you want to place on a photo from your iPhone.

Method 1: Add text with Markup in Photos

Step 1

Open the photo and enter Edit mode

Open Photos, choose the picture you want to annotate, and tap Edit. Look for the Markup option in the editing controls or in the more-actions menu. The exact position of the button can vary slightly by iOS release, but the goal is to open the tools for drawing and adding annotations rather than applying a photo filter.

Step 2

Choose Add Text from the plus menu

Tap the plus button in Markup and choose Add Text. A text box will appear over the photo. Tap inside the box, replace the placeholder with your own words, and keep the first version short enough to read comfortably on a phone screen.

Step 3

Change the style and move the text

Select the text box to reveal controls for the font, size, alignment, and color. Drag the box to a quieter area of the photo, then use the handles or style controls to make the caption fit. Check the image at the size where people will actually see it, not only while zoomed in.

Step 4

Tap Done and review the saved copy

Tap Done when the wording, contrast, and position look right. Before posting, zoom out and check that the text is not near a crop edge or covering a face, product detail, or important part of the scene. For an important original, keep an untouched copy before saving a permanent annotated version.
Which method should you use?

Markup is the quickest choice for a personal photo and a short caption. A browser-based image text tool is more convenient when you want touch-friendly positioning, a predictable export, or support for a JPG, PNG, or WebP that is not already in your Photos workflow. A full design app makes sense only when the project needs multiple layers, repeated layouts, or detailed typography.

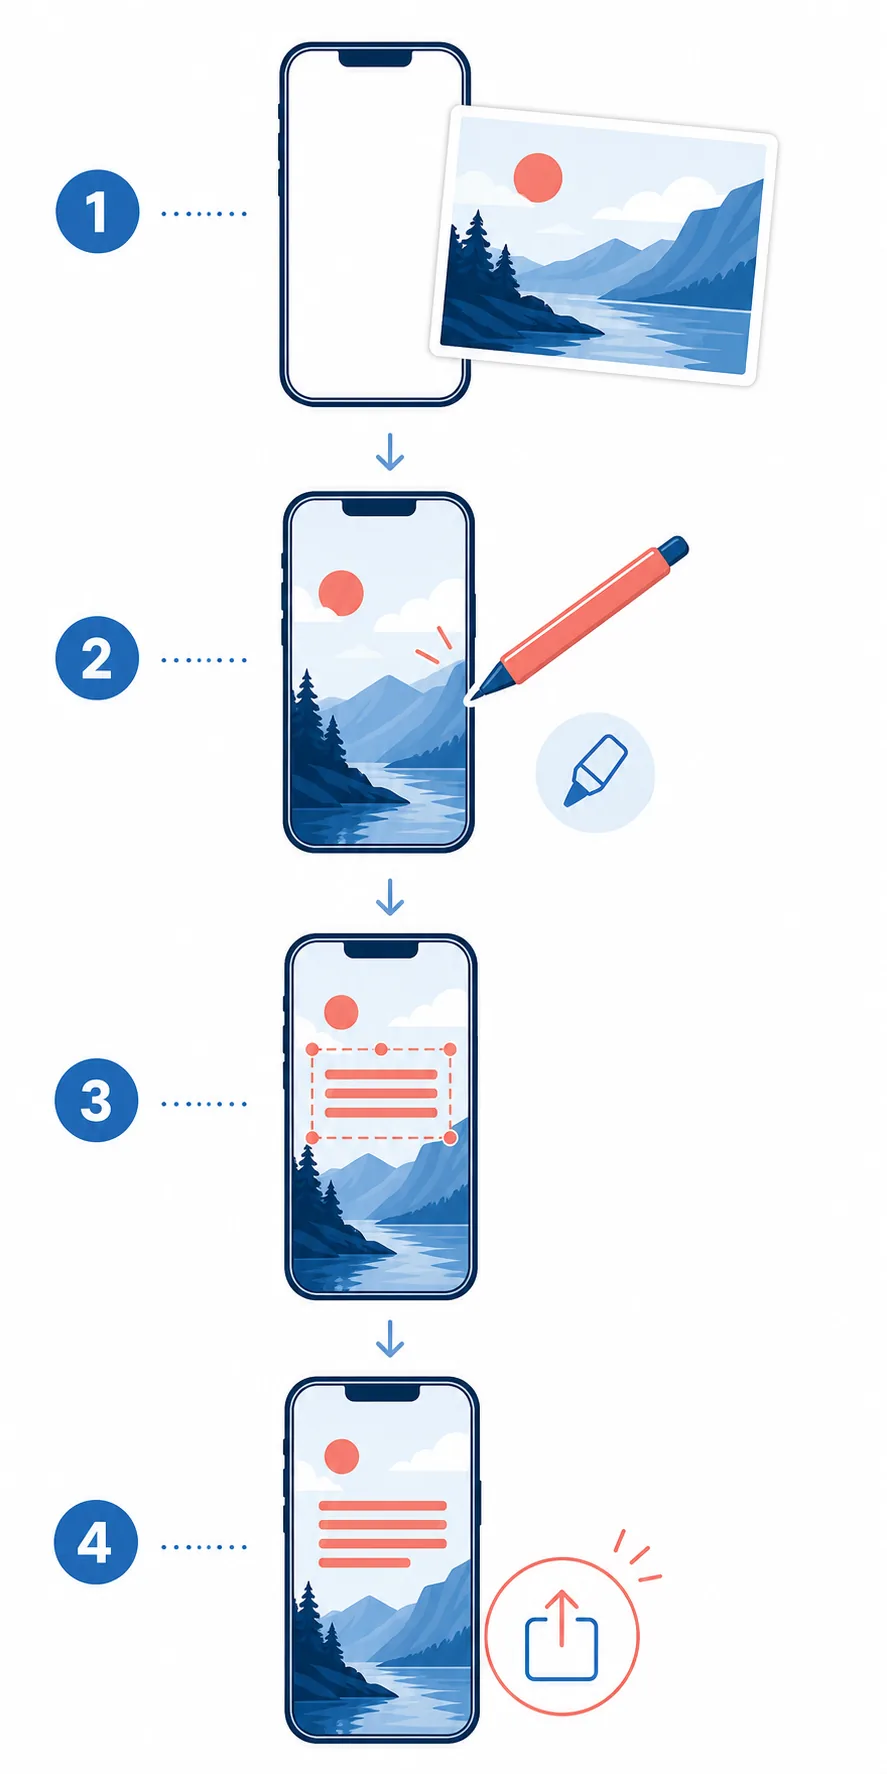
Four-step illustration showing a photo becoming an image with an added text layer on iPhone
Choose the photo, open the annotation tools, place the text, and save or share the finished image after checking contrast and crop safety.
Method Best for Main limits
Markup in Photos A quick caption, date, pointer, or personal note on a photo or screenshot already stored on the iPhone. Basic text controls; it adds a new box and does not replace lettering that is flattened into the image.
ImageTextEdit browser tool Short titles, labels, prices, or annotations on JPG, PNG, and WebP files when you want to drag text into place and export a PNG. It is designed for a focused overlay workflow, not a complete multi-layer design project.
Full design app Several text layers, complex alignment, reusable templates, or a composition that needs ongoing editing later. More setup and more controls than necessary for a one-line correction or a simple mobile caption.

Tips for readable text on an iPhone photo

The tool is easy to use, but a few small choices determine whether the finished image feels intentional or looks like text placed on top at the last minute.

  • Write the shortest version that still communicates the point. A date, price, name, or two-line caption is easier to place than a paragraph.
  • Use strong contrast. Light text with a dark outline can work on a detailed photo, while dark text usually needs a pale or quiet area behind it.
  • Leave breathing room around the text. Keep it away from the very edge because social apps, profile grids, and print layouts may crop the image.
  • Match the visual tone of the image. A simple sans-serif style suits a screenshot or announcement, while a playful photo may support a more expressive font.
  • Review at normal viewing size. If the text is only readable when you pinch-zoom, it is probably too small for the final use.
  • Separate adding from replacing. A new caption can sit over an empty part of the picture; changing an old price or name requires removing the original pixels first.

Choose the right ImageTextEdit page

Add a new caption

Use the browser tool when you want to place new text on a JPG, PNG, or WebP and download a finished PNG.

Open Add Text

Replace words already in the image

Use the replacement workflow when the old letters are part of the photo and the background must be repaired before new text is blended in.

Replace Image Text

Remove unwanted words

Choose the removal page when you want to erase text and leave the space clean instead of adding a new caption.

Remove Text

Keep a similar font style

Open the same-font workflow when the new wording must resemble lettering that is already visible in the picture.

Match the Same Font

Edit a screenshot

Use the screenshot page for interface labels, dates, names, or other text captured from an app or website.

Edit Screenshot Text

Common mistakes to avoid

Confusing a new overlay with a text replacement

Adding a text box does not remove the old lettering underneath it. If the photo already contains a price, name, or sentence that must change, use a replacement or removal workflow instead of covering it with a matching-colored box.

Placing text where the image will be cropped

A caption close to the top, bottom, or side can disappear when the image is posted in a different aspect ratio. Leave a safe margin and preview the crop used by the destination platform.

Using low contrast or too many words

Thin lettering over a busy background becomes difficult to read on a small screen. Shorten the message, move it to a calmer area, or choose a stronger color and outline.

Saving over the only original

Keep an untouched copy when the photo may need a different caption later. A flattened export is convenient for sharing, but it is not the same as keeping an editable text layer.

Add text to an iPhone image FAQ

Yes. Photos and Markup can handle a short text box on many iPhones without a separate design app. Open the photo, enter Edit, choose Markup, tap plus, and select Add Text. Use an online editor when you want more deliberate placement or a consistent export workflow.

Select the text box after adding it and use the available Markup style controls. You can usually adjust the font, size, alignment, and color. The exact control layout can vary by iOS version, so judge the result by readability rather than by matching a particular button location.

Yes. Tap the text box to select it, drag it to a better location, and adjust the size with the available handles or text controls. Leave enough space around the letters so the caption remains readable after the image is resized or cropped.

Not with a normal Add Text box. Markup creates a new layer over the image; it does not reconstruct the background behind an old price, label, or sentence. For existing image text, open the replacement guide or the same-font workflow linked above.

Markup is fine for a quick annotation or callout on a screenshot. If you need to change an existing interface label, date, or name, use the screenshot text editor so the old pixels can be selected and repaired instead of simply covered.

Yes, but keep the block compact. Several short lines can work for a title and subtitle, while a long paragraph will be hard to position and read on a phone. For repeated layouts or more complex typography, use a dedicated design app or the browser editor on a larger screen.

Need a new caption on a JPG, PNG, or WebP?

Open the focused browser tool, type a short caption, drag it into place, and export a finished PNG. If the old words are already part of the image, use the replacement workflow instead.