Tutorial

How to Edit Text in an Image Online

If the only file you have is a finished screenshot, JPG, PNG, or product graphic, you can still replace the baked-in words. The practical workflow is to upload the image, mark the old text, enter the replacement, let AI rebuild the background, and download the updated version. This guide explains the exact steps, when the method works best, and which page to use for PNG, JPEG, same-font, and screenshot-specific jobs.

Quick answer

To edit text in an image, use an editor that removes the old lettering, repairs the pixels behind it, and blends the replacement back into the design. That is more reliable than placing a new text box on top, especially when you need the result to look native to the original image.

Finished image before text replacement

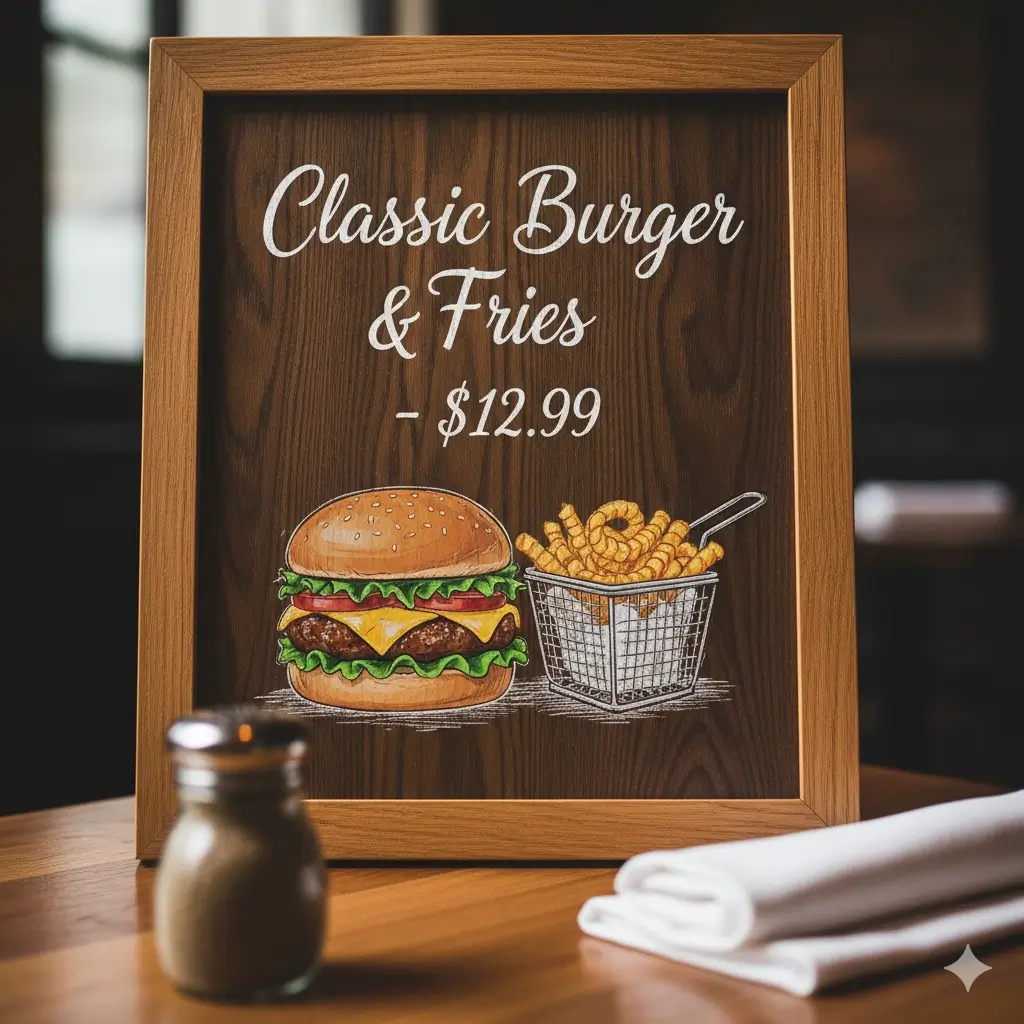
Before: final exported image with baked-in text

A typical case is a finished menu, promo, or product asset where the original editable source is no longer available.

Edited image after text replacement

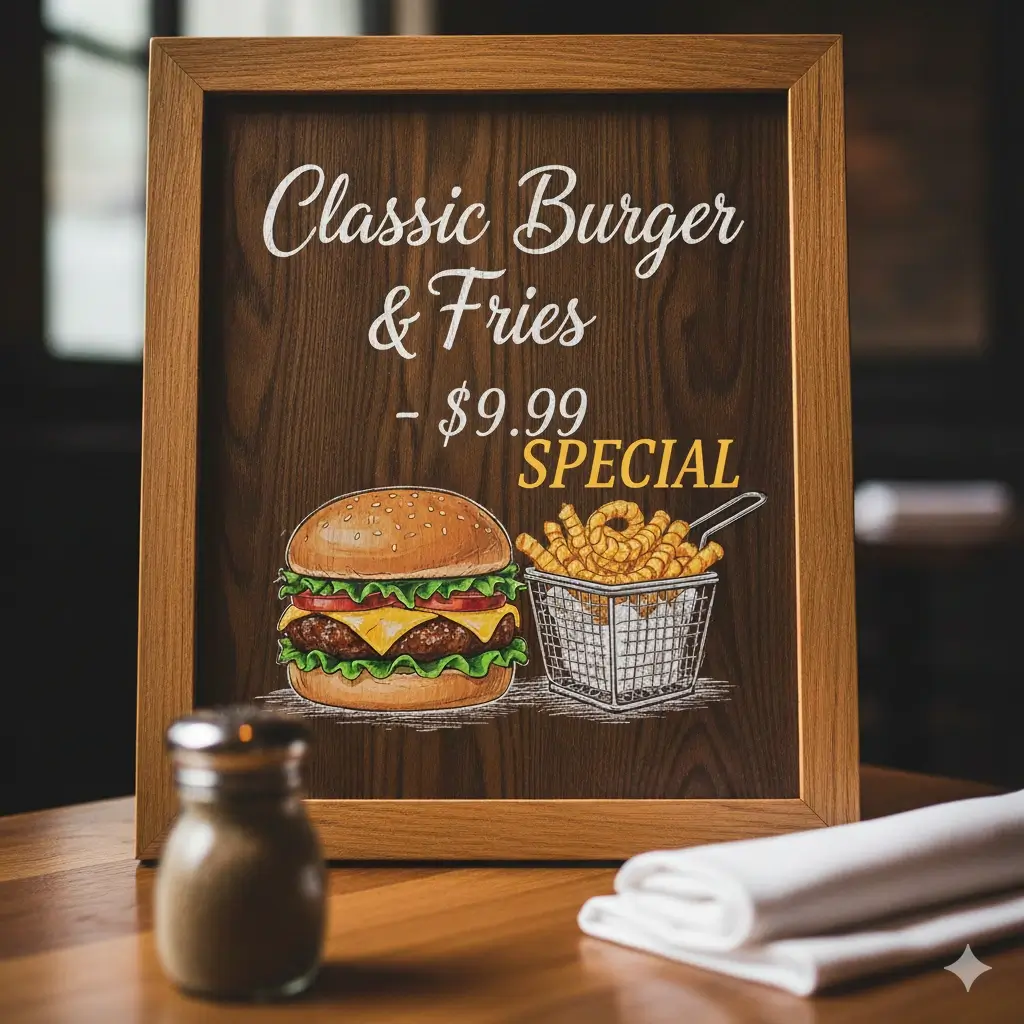
After: edited result with updated copy

The goal is to remove the old words, repair the background, and blend the new text back into the same visual context.

Step-by-step workflow

Step 1

Choose the right image file and check text clarity

Use the final image you actually need to update. Clear screenshots, readable product labels, menus, signs, and simple marketing graphics perform best. If the old text is tiny, heavily blurred, or wrapped over a complex texture, expect the edit to need more careful selection.

Step 2

Mark only the text area you want to replace

Draw a tight selection around the old words instead of grabbing a huge section of the image. A smaller target helps the editor understand which letters to remove and which nearby background details should stay untouched.

Step 3

Enter replacement text with similar length when possible

Short edits usually look the most natural. Replacing “$19” with “$24” or changing a date, label, name, or CTA keeps spacing closer to the original layout. Longer copy can still work, but it may need more visual adjustment.

Step 4

Generate, review, and retry if one area needs refinement

After the AI removes the old text and rebuilds the background, check edges, alignment, and readability. If one line looks off, try a tighter selection, a shorter replacement, or a format-specific page such as the screenshot or PNG workflow.

Best ways to edit text in a picture

Most people do not need a full design app for a one-line correction. The right method depends on whether your image is a flattened export, whether matching the original font matters, and whether the file is a screenshot, PNG, or compressed photo.

Method Best for Main limits
AI image text editor Fast edits in screenshots, JPG, PNG, labels, menus, and social graphics when the original source file is gone. Best on short text replacements with readable lettering.
Manual design editor Complex redesigns, multi-line typography changes, or layouts that need new layers and spacing decisions. Slower, requires design skill, and often needs the original editable source.
OCR plus manual cleanup Extracting text content from documents when visual fidelity is less important than plain text access. Usually poor for believable visual replacement inside a finished image.

How to get better editing results

The strongest edits usually come from images where the original text is legible and the replacement stays close to the original visual footprint.

  • Use images with clear contrast between text and background.
  • Prefer short replacements such as dates, prices, labels, names, and button copy.
  • Keep the selection area tight so background repair stays local.
  • Use the same-font workflow when preserving typography is the top priority.
  • Use the screenshot page when the visual is clearly an app, dashboard, or UI capture.
  • Use the PNG or JPEG page when the file format changes the editing expectations.

Which page should you use?

General image text edits

Use the main editor when you need a broad workflow across screenshots, JPG, PNG, JPEG, and WebP images.

Open Main Editor

Same-font replacements

Open the same-font page when matching the original font feel, spacing, and style matters most.

Open Same Font Page

PNG image text changes

Choose the PNG page for screenshots, labels, menus, and transparent assets exported as PNG files.

Open PNG Editor

Screenshot-specific updates

Use the screenshot page for UI text, dashboard labels, names, dates, and exported app visuals.

Open Screenshot Editor

Common mistakes to avoid

Covering the old text with a new text box

That approach often leaves ghosting, misaligned spacing, or obvious patches. A true image text edit should remove the old letters and repair the background first.

Selecting too much of the image

Large selections make it harder to preserve nearby shapes, icons, and textures. Keep the edit box tight around the text you actually want to change.

Using a much longer replacement than the original

A dramatic length change can break alignment and make the new wording look cramped. When possible, keep the new text similar in size and intent.

FAQ

Yes. If you only need to update existing wording inside a finished image, an AI image text editor is usually faster than Photoshop. You upload the image, select the text area, type the replacement, and generate an updated result.

Clear screenshots, menus, signs, product labels, ads, and simple graphics usually work best. Readable text, decent resolution, and a manageable background around the words improve the final result.

Yes. The site supports common web image formats. PNG, JPG, JPEG, and WebP can all be edited, although each format behaves a little differently because of transparency or compression.

The goal is to match the original font feel, spacing, color, and alignment as closely as possible. Exact font recovery is not guaranteed, but short edits on clear images usually produce the most believable same-style results.

Use the screenshot-specific editor. It is positioned for UI labels, dates, names, short copy, and exported interface visuals where retaking the screenshot would be slower than editing the existing image.

Ready to replace text in your image?

Open the main editor for general image text changes, or choose a more specific workflow if you need screenshot-focused or same-font editing.