
How to Edit Text in Photopea
Photopea can edit real text layers directly in the browser, but a JPG, PNG, or screenshot usually contains flattened letters rather than editable text. This guide shows how to identify the file you have, use the Photopea Text tool, enlarge and restyle wording, and rebuild text when the original layer is missing.
Quick answer
If the Layers panel shows a text layer with a T icon, select the Type tool, click the text, and edit it. If the words are baked into a JPG, PNG, or screenshot, first remove or repair the old letters, then create a new text layer. For a quick one-line replacement in a finished image, ImageTextEdit can be simpler than rebuilding the area manually.
First decide whether the text is still editable
The most important Photopea text-editing step happens before you choose a tool. A live text layer keeps font and spacing data. Flattened text is only pixels, so clicking it with the Type tool will not reveal the original wording.
| File or layer | Best method | What to expect |
|---|---|---|
| PSD with a T text layer | Choose the Type tool, select the layer, and edit the characters directly. | Best chance of preserving the exact font, effects, spacing, and alignment. |
| JPG, PNG, WebP, or screenshot | Remove the old pixels with repair tools, then add replacement text on a new layer. | The wording can change, but font matching and background cleanup are manual. |
| Smart Object or imported design | Double-click the Smart Object thumbnail and inspect its internal layers. | The original text may still be editable inside the embedded document. |
How to edit text in Photopea step by step
Open the file and inspect Layers
Open the PSD or image, then check the Layers panel. A T icon indicates a live text layer. If there is only one image layer, the wording is probably flattened.
Select the Type tool
Press T or choose the Type tool in the toolbar. Click inside the existing text or select the text layer first. Drag to highlight only the characters you want to replace.
Change wording, size, and spacing
Type the new words, then use the top options bar and Character panel to adjust font, size, leading, tracking, alignment, color, and anti-aliasing. Use Free Transform when the entire text box needs scaling.
Replace flat text, export, and keep a PSD
For pixel-based wording, repair the old area, add a separate text layer, and compare the result at normal size. Export PNG or JPG and keep a PSD so the replacement remains editable.
How to make the replacement text look natural
A technically correct edit can still look fake if the new type does not belong to the image. Check these details before exporting:
- Match the original font category, weight, capitalization, and approximate character width.
- Compare baseline, line height, letter spacing, alignment, rotation, and perspective.
- Sample nearby colors and reproduce outlines, shadows, glow, blur, opacity, or texture only after the basic shape matches.
- Keep replacement wording close to the original length and review it at 100 percent and at the final output size.
When Photopea is not the fastest option
Photopea offers detailed manual control, but not every image needs a full layer-based workflow.
- A short price, date, label, or sentence change in a finished image may be faster in an AI image text editor.
- Blurred, tiny, curved, reflective, or heavily compressed text may not reveal a reliable font match.
- Busy backgrounds behind flattened wording can require clone or healing work before new text looks believable.
- You should not alter IDs, receipts, contracts, evidence, or other documents in deceptive or unlawful ways.
Related image text workflows
Edit text in an image online
Replace short baked-in wording directly in a browser workflow.
Open the editorEdit text with the same font
Focus on matching the original typography, spacing, and visual style.
Match the fontEdit screenshot text online
Change app labels, dates, names, and other short interface text.
Edit a screenshotPhotoshop text editing guide
Compare the same live-layer and flattened-image decision in Photoshop.
Read the Photoshop guidePhotopea text editing FAQ
Official references and image sources
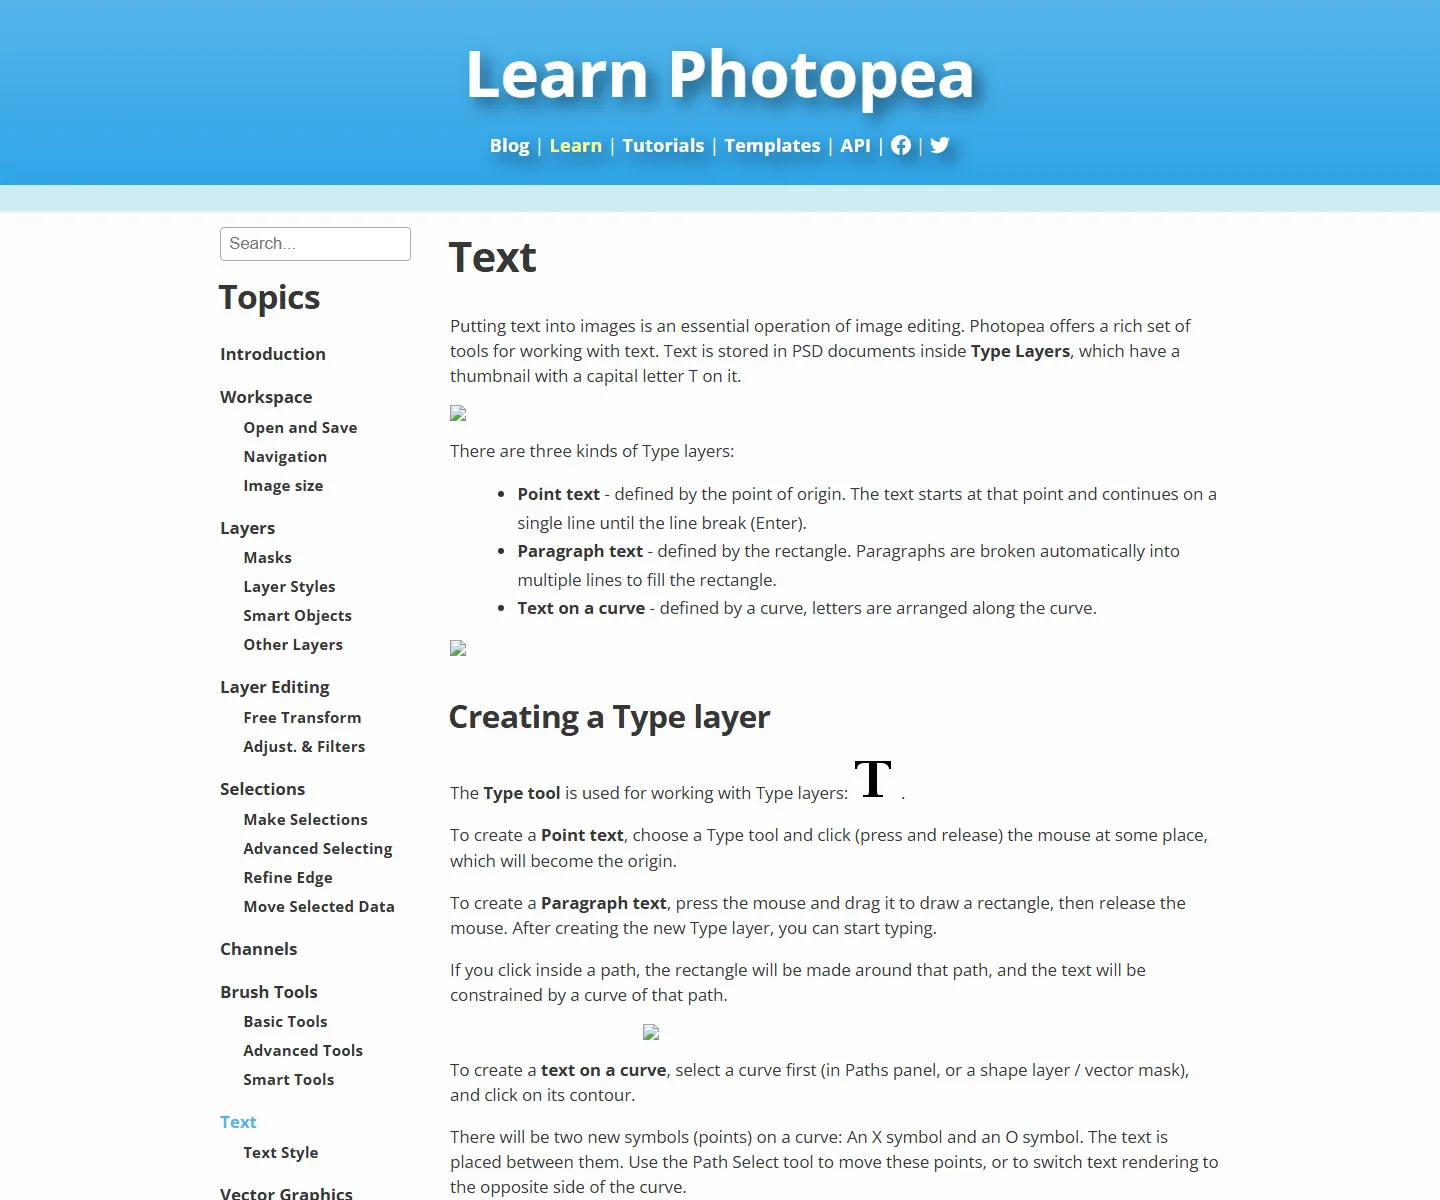
- Photopea official Text documentation - Explains type layers, point text, paragraph text, curved text, and the Type tool.
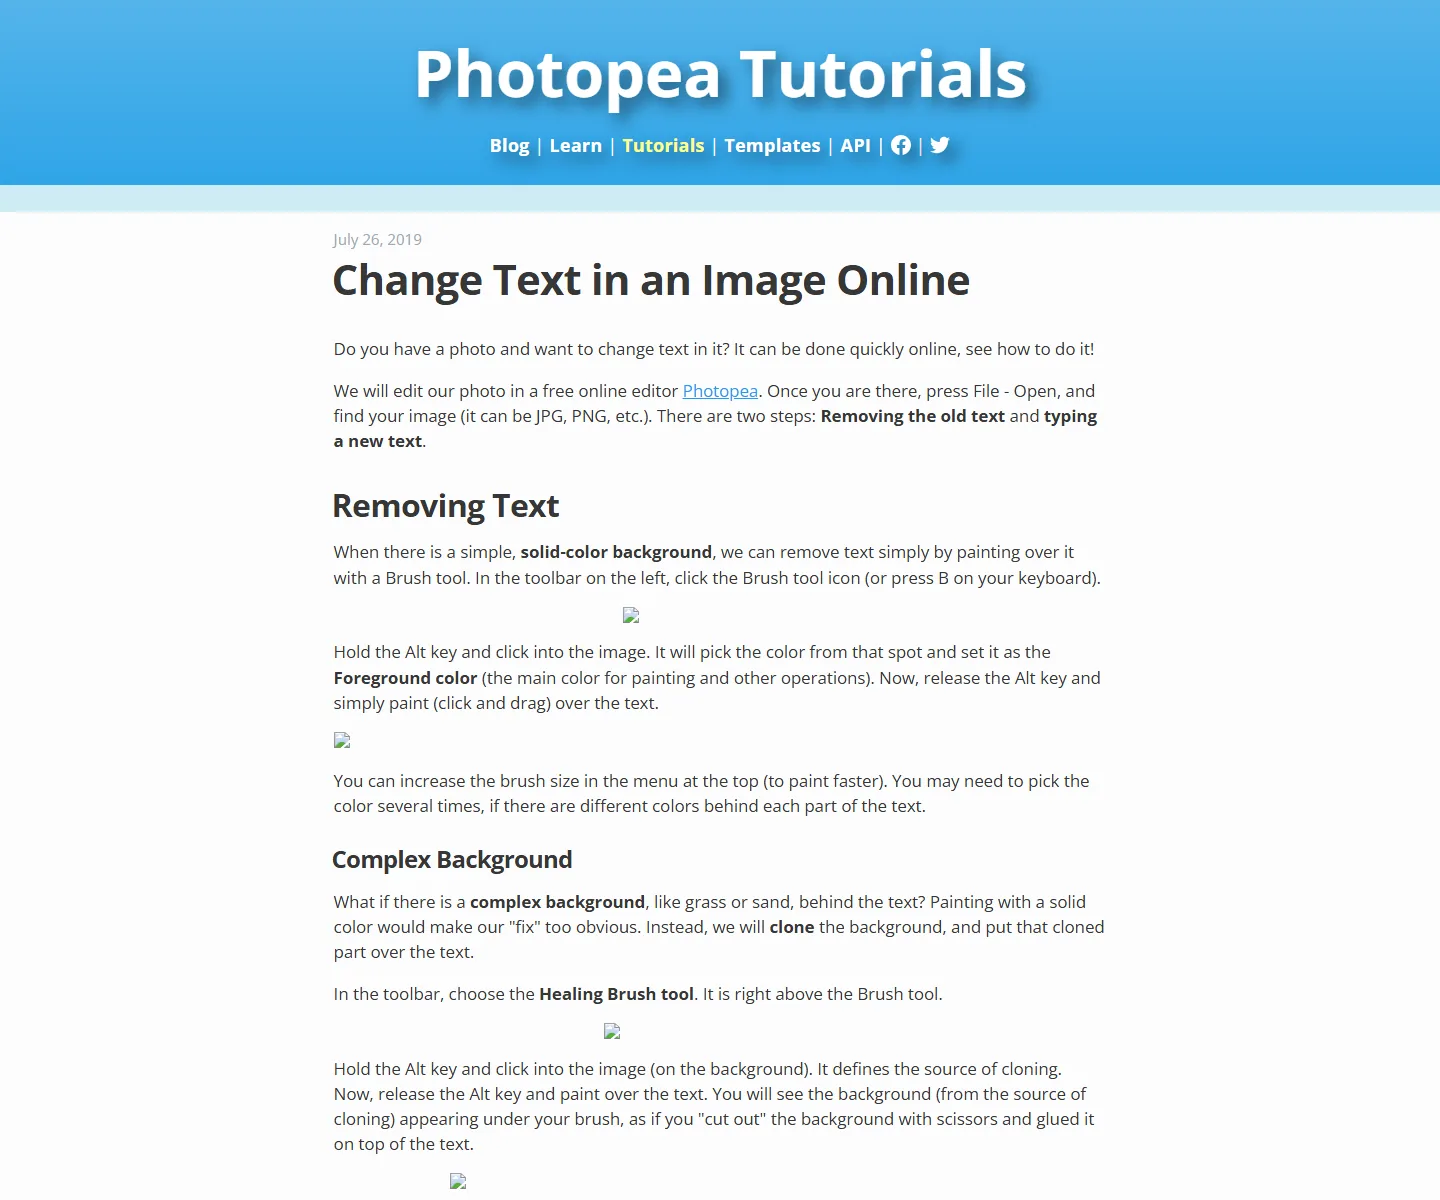
- Photopea official change-text tutorial - Shows the remove-old-text and add-new-text workflow for flat images.
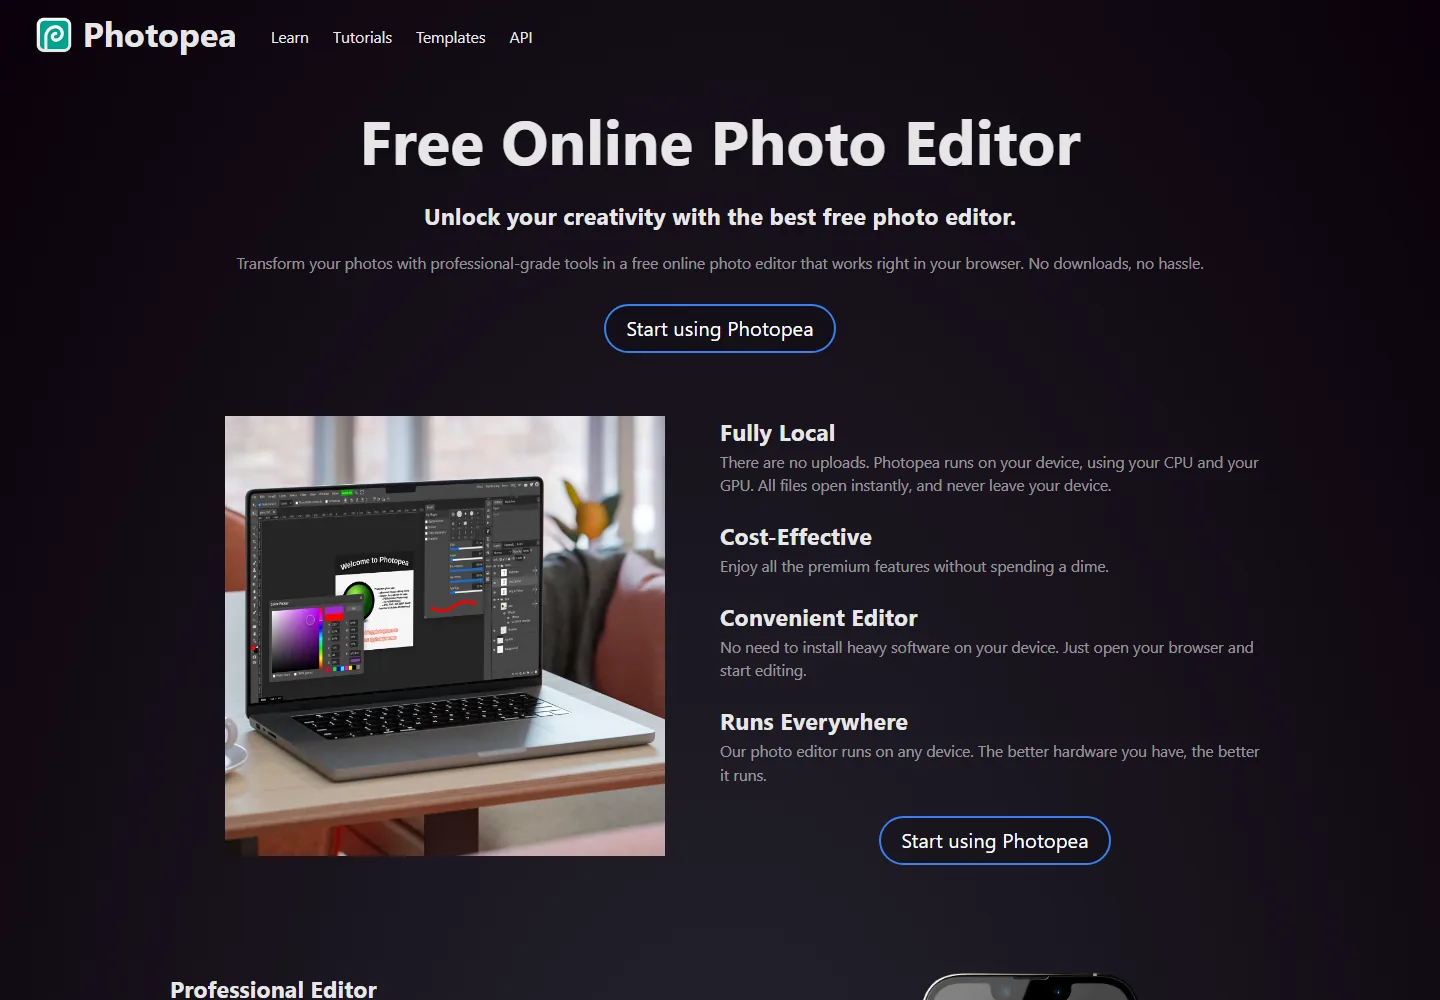
- Photopea official website - Current first-party product page and source of the feature screenshot.
Need to replace text in a finished image quickly?
Use ImageTextEdit when you have a JPG, PNG, WebP, or screenshot without editable layers and want a shorter browser workflow.