How to Edit Text in an Image in Microsoft Word
Microsoft Word can place new text over a picture and can turn some scanned content into editable document text, but it cannot directly select and rewrite letters that are already baked into a JPG, PNG, or screenshot. The right method depends on whether you want to add a label, recover text from a scan, or make the finished picture look as though its original wording changed. This guide separates those three jobs so you do not waste time clicking an image that has no editable text layer.
Quick answer
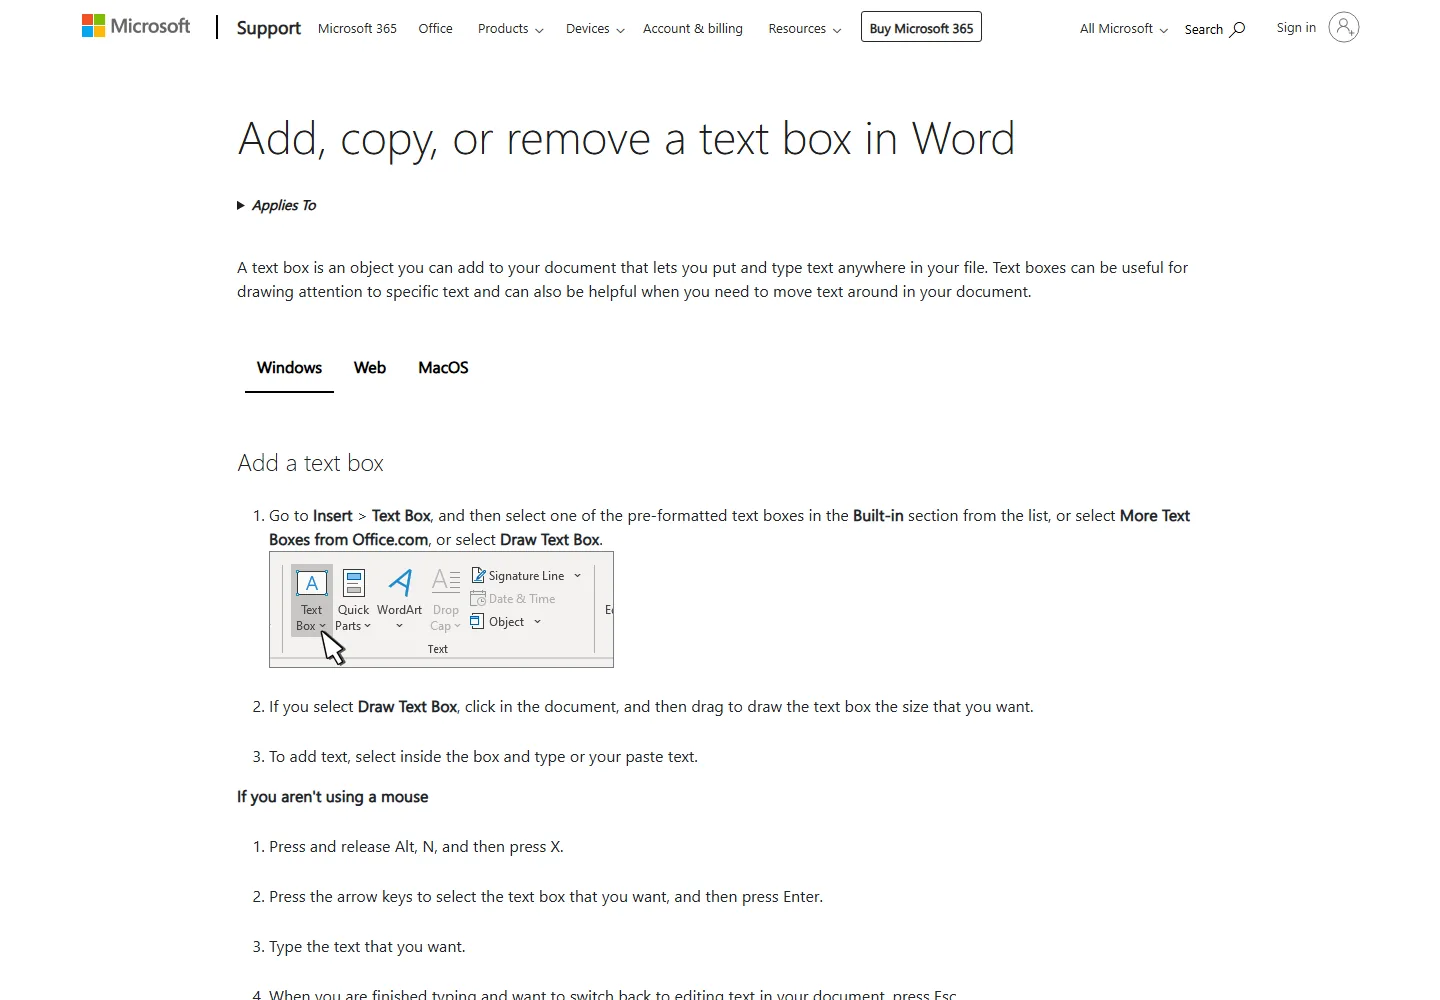
To add editable wording over a picture in Word, insert the image, choose Insert > Text Box, draw the box, type, then set Shape Fill and Shape Outline to No Fill and No Outline. To recover words from a scan, use an OCR workflow and paste the recognized text into Word. To replace letters inside the actual image pixels, edit the image first, then insert the corrected file into Word. Word does not reconstruct the hidden background or original font behind flattened text.
Choose the method by the result you need
Searches for how to edit text in an image in Word often combine three different intentions. Word handles the first two reasonably well, while the third requires an image-editing step before the document layout is finished.
| Your goal | Best workflow | What remains editable |
|---|---|---|
| Add a caption, callout, label, or replacement-looking line | Place a transparent text box over the picture and group the objects when the layout is final. | The new text stays editable in Word, but the original pixels remain underneath. |
| Turn a scan or photographed page into normal document text | Run OCR, review the recognition, and move the corrected text into Word. | The words become editable, but the original page design may need rebuilding. |
| Actually change baked-in text while preserving the picture | Remove or replace the old words in an image editor, export a new JPG, PNG, or WebP, then insert it into Word. | Word receives a corrected image; it does not edit the embedded pixels itself. |
How to put editable text over an image in Word
Insert the picture and control its layout
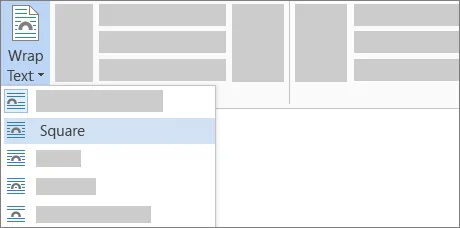
Use Insert > Pictures and choose the file. Select the picture, open Layout Options, and choose a wrapping mode such as Square, Tight, or Behind Text. In Line with Text is stable for simple documents, but a floating layout is easier when a text box must sit at an exact position.
Draw a text box over the target area
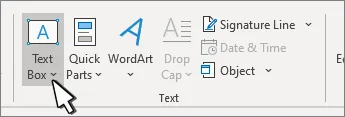
Choose Insert > Text Box > Draw Text Box. Drag over the place where the new wording should appear, type the text, and use the Home tab to set the font, size, color, alignment, and spacing. Keep the wording short enough to fit the visual space naturally.
Remove the text-box background and border
Select the text box and set Shape Fill to No Fill and Shape Outline to No Outline. If the original words are still visible, a transparent box alone will not hide them. Use an opaque fill sampled from a simple background only when the area is a flat color; busy photos require real image repair.
Position, group, and test the document
Use arrow keys for small movements, then select the picture and text box together and group them if Word allows the chosen wrapping modes. Save a DOCX copy, export a PDF for sharing, and reopen the file to confirm the overlay has not moved across pages, devices, or printer settings.
If you need image text to become editable Word text
An image of a page contains pixels, not characters. Optical character recognition can identify likely letters and produce normal text, but OCR is a conversion process rather than a visual replacement. Use it when the words matter more than preserving the exact picture.
- Start with the clearest original scan you have. Straight pages, high contrast, readable type, and minimal compression improve recognition.
- Check names, numbers, punctuation, columns, tables, and line breaks manually. OCR can look convincing while still changing a date, decimal, or proper noun.
- Expect to rebuild complex formatting. Text boxes, decorative type, signatures, stamps, curved lettering, and text over photographs rarely transfer cleanly into a Word document.
- Keep the source image beside the converted document until proofreading is complete. Do not treat OCR output as an exact record without review.
How to make an overlay look intentional
A Word text box is useful for labels, training material, worksheets, mockups, and internal drafts. It looks less natural when it is used to imitate a fully retouched picture. Improve the result with these checks:
- Match the visible font category, weight, capitalization, line height, alignment, and approximate letter spacing instead of choosing a font only by name.
- Use the Selection Pane when objects overlap, and give the image and text box compatible wrap settings before grouping them.
- Keep important text inside safe margins so it is not clipped during PDF export or printing.
- For a textured, patterned, transparent, curved, or perspective background, replace the text in the image itself rather than covering it with a Word shape.
- Review at 100 percent and in Print Preview. A box that looks aligned while zoomed out may shift or reveal the old wording at final size.
What Word cannot do to flattened image text
Word is a document editor, not a pixel-aware retouching application. Knowing the boundary helps you choose a faster and more reliable workflow.
- Clicking text inside a JPG or PNG will not reveal the font, original characters, layers, spacing data, or background hidden behind the letters.
- A white rectangle can cover text on a white page, but it will look obvious over gradients, photographs, shadows, paper texture, or transparent graphics.
- WordArt and text effects can approximate outlines, shadows, and rotation, but they do not automatically match perspective, blur, lighting, or compression in the source picture.
- If the goal is to change a receipt, identity document, contract, certificate, evidence image, or other sensitive record, make sure the edit is authorized and is not deceptive or unlawful.
- For a clean final image, replace or remove the old text before inserting the file into Word. Keep the Word overlay method for annotations and document composition.
Related image text workflows
Edit text in an image online
Replace short baked-in wording before inserting the corrected image into Word.
Open the image editorEdit text with the same font
Focus on typography, spacing, and style when the replacement should resemble the original.
Match the original textHow to edit text in Photoshop
Use layers and repair tools when the source image needs detailed manual control.
Read the Photoshop guideHow to edit text in Photopea
Use a browser-based layer editor for PSD files or manual flat-image repair.
Read the Photopea guideWord image text editing FAQ
Official references and image sources
- Microsoft Support: add, copy, or remove a text box in Word - Official instructions for inserting, formatting, copying, and removing Word text boxes.
- Microsoft Support: wrap text around a picture in Word - Official explanation of picture layout and text-wrapping choices.
Need the words changed inside the image itself?
Correct the JPG, PNG, WebP, or screenshot first, then insert the finished image into Word without fragile overlay boxes.